A Complete Guide to React Native Navigation
When looking for native app development services to build a mobile web app for Android or iOS platforms, it is essential to have a veteran mobile app development team that can include high-performing UI widgets that are commonly used in native applications. Some of the components include pushbuttons, list views, and more.
This is essential as mobile users expect a fast and efficient way to navigate the app. And that’s what a good React Native navigation lets you do, that is, to ensure your users find a fast and efficient way to reach their destination quickly.
This blog post will show you how to use commonly used libraries to set up React Native Navigation.
What is React Native Navigation?
In React Native, React Navigation is a standalone library that allows you to implement navigation functionality into the application.
React Navigation is written entirely in JavaScript, so it does not rely on native iOS or Android native navigation APIs.
Instead, it creates a subset of those APIs for further code execution.
As a result, you can integrate third-party JS plugins, which you can customize accordingly and easily perform debugging. In addition, you don’t need to learn Objective‑C, Swift, Java, Kotlin, etc to build a react native Android or iOS app.
Read also about 6 Tools for Debugging React Native
Navigation Types In React Navigation
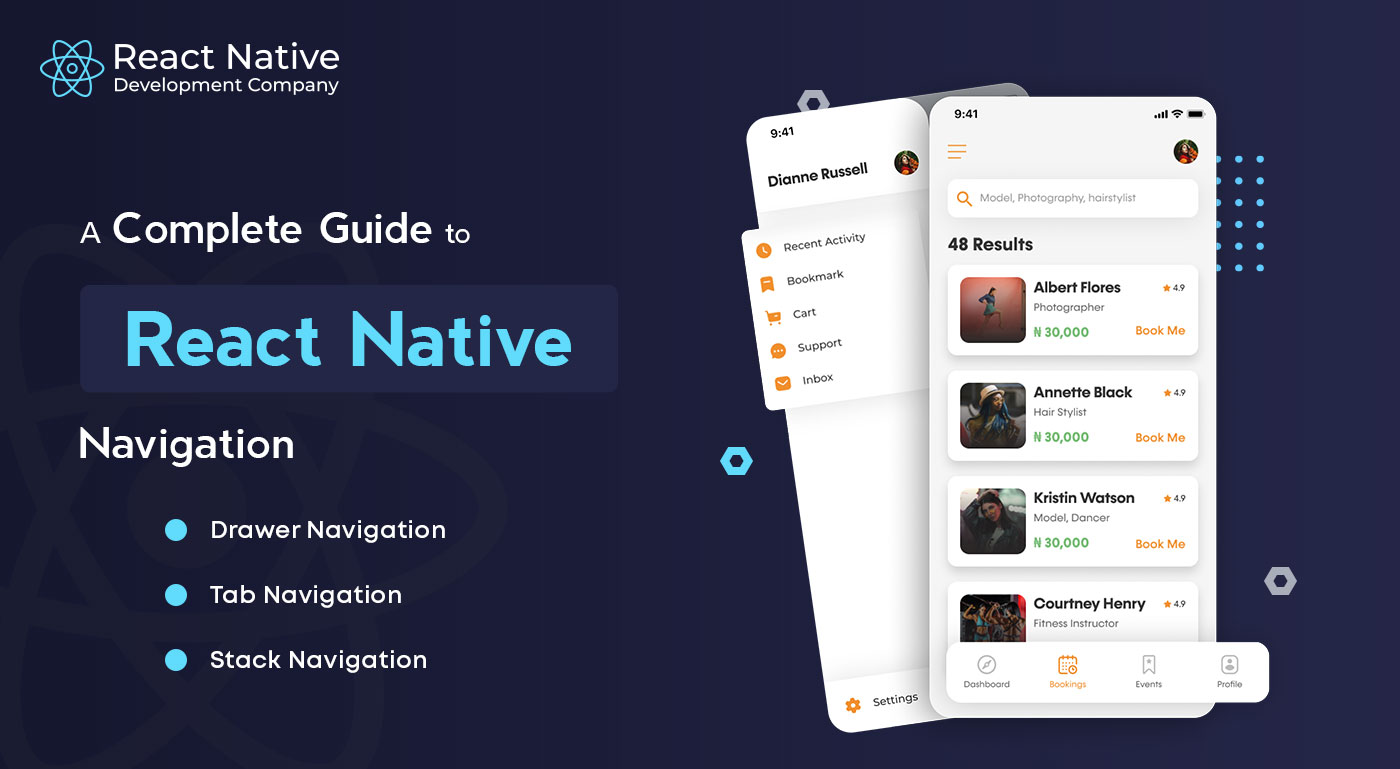
1. Drawer navigation

Twitter is one of the most popular applications that use drawer navigation. It is a navigation pattern where you navigate between and through the screens using a drawer from the left (or right). In most cases, it consists of links that allow users to move between screens, and in web applications, it is similar to a sidebar.
2. Tab navigation

Instagram is a popular application that uses tab-based navigation. With this feature being highly popular, most of the react native app development service providers deliver mobile applications having Tab navigation. In this type of navigation, there are several Tab-based components features.
When looking at the user interfaces, Tab navigation consists of two tabs, one at the bottom and one at the top. You can use the home screen for the bottom tab navigation. Similarly, for the top tab navigation, you can go to the profile screen.
As a result, it offers a remarkable user experience and the development time and development cost are also less compared to other React Native Navigation.
3. Stack navigation

In stacks, screens get transitioned between each other whereas multiple screens stack on top of one another. Moving from one screen to another involves replacing one with another. The WhatsApp chat screen is one application that uses stack navigation.
A mobile application typically uses a variety of navigators to build the different screens and functionalities. These are called nesting navigators and Twitter is one of the most popular applications which is currently using this navigation concept. Following the trend, several native app development companies have now incorporated this navigation trend.
You too can ask your react native development services provider to offer a feature wherein users can navigate between screens with the drawer navigation type on the home screen. With the search tab, you can navigate from the Direct Messages (DMs) screen to a conversation based on a selected Tweet.
What Are The Prerequisites to Get Started with React Navigation?
Ensure that Node.js and NPM are available on your system before you begin. Using the following command, you can check whether they are installed:
| node ‑v npm ‑v |
Alternatively, you can just install open source Node.js, and NPM will get installed automatically.
Minimum requirements
- react-native >= 0.63.0
- expo >= 41 (if you use Expo)
- typescript >= 4.1.0 (if you use TypeScript)
Installation
For React Native projects, you need to install the following packages:
| npm install @react-navigation/native |
Installing dependencies
| npm install react-native-screens react-native-safe-area-context |
After successful installation of all above libraries, get to the side of the project folder and start coding.
Code:
First, let’s create a /components folder in our project’s root folder. Next, we create a file called HomeScreen.js. Inside this HomeScreen.js file, enter the following code.
| import * as React from ‘react’; import { Button, View, Text } from ‘react-native’; import { NavigationContainer } from ‘@react-navigation/native’; import { createNativeStackNavigator } from ‘@react-navigation/native-stack’; function HomeScreen({ navigation }) { return ( <View style={{ flex: 1, alignItems: ‘center’, justifyContent: ‘center’ }}> <Text>Home Screen</Text> <Button title=“Go to Detail Page” onPress={() => navigation.navigate(‘Details’)} /> </View> ); } function DetailsScreen() { return ( <View style={{ flex: 1, alignItems: ‘center’, justifyContent: ‘center’ }}> <Text>Details Screen</Text> </View> ); } const Stack = createNativeStackNavigator(); function App() { return ( <NavigationContainer> <Stack.Navigator initialRouteName=“Home”> <Stack.Screen name=“Home” component={HomeScreen} /> <Stack.Screen name=“Details” component={DetailsScreen} /> </Stack.Navigator> </NavigationContainer> ); } export default App; |
After running the above single codebase on the device, the output looks like this.

Code Summary
- Navigation. navigate(‘RouteName’) adds the route to the native stack navigator if it does not already exist, otherwise, it jumps to the route in the native stack navigator.
- We can call navigation.push(‘RouteName’) repeatedly, and it will keep pushing routes.
- A back button will automatically appear in the header bar, but you can go back programmatically by calling navigation.goBack(). Hardware back buttons work as expected on Android.
- Stacks can get navigated with navigation.navigate(‘RouteName’).
Conclusion
This guide is intended to help you understand the React Native Navigation library and use it more effectively. Also, this guide covers the three basic components that make up the React Native Navigation library:
- StackNavigator
- TabNavigator
- DrawerNavigator.
We looked at how to initialize these components, change routes, handle screens, and pass data between screens. Further, we also focused on some of the tools provided by the library for convenient navigation within your apps, such as screen navigators, screen confirmations, and screen guards.
The best thing about the React Native Navigation library is that it is compatible with both the iOS and Android platforms. If you are not sure which react native navigation feature will suit best for your app, you can reach out to us, we are recognized as the top react native app development company in the USA.
Read also: What is React Navigator?
FAQs
1. Which navigation is best for React Native?
There are three great libraries for React Native mobile apps regarding navigation and routing.
- React Navigation
- React Native Navigation by Wix
- React Router Native
2. How does React Native handle navigation?
React Native Navigation is one of the most popular alternatives to React Navigation library. It provides specific features to work with navigation in React Native app development. Unlike other React Navigation libraries, React Native Navigation directly uses native navigation APIs on iOS and Android, allowing for a more native navigation experience.
3. How does navigation work in React Native?
Using JavaScript, React Navigation allows you to create components and navigation patterns that appear and behave as if they were native.
React Navigation uses stack navigators to manage the navigation history and display the appropriate screen based on the route taken by the user inside the app.
4. How does React navigation differ from React Native navigation?
React Navigation provides a near-native experience using a combination of libraries, while React Navigation Native uses native fragments for every screen. When selecting a navigation library for your application.
5. How do you implement navigation in React Native?
The following steps will give you ideas about implementing navigation in React Native.
- Step 1: Install React Native
- Step 2: Create two different screens for the project.
- Step 3: Install the React Navigation package.
- Step 4: Insert a Navigation Button in Settings.js.
- Step 5: Reload the application.
6. How do I navigate to the previous screen in React Native?
In React Native, you can go back to one screen using the goBack() method.
The react-navigation library’s goBack() method is one of its most important. Using it, you can return to a previous screen in your navigation stack.